Traefik is one of the modern methods which is used to set up reverse proxy for docker containers. When you want to run multiple applications in docker containers exposing port 80 and 443, traefik can be the best option for reverse proxy. Traefik provides its own monitoring dashboard. You can also use Traefik for HTTP load balancer. In this article, we are going to setup Traefik v2.4 on Ubuntu 20.04 with a simple example.
Prerequisites
- Ubuntu 20.04 LTS
- Docker CE (Community Edition)
- Internet connection to download packages
- Sudo Privileged user account
- A domain for traefik dashboard [Should be maintained A record]
- A domain for wordpress site [Should be maintained A record]
In this article, we are using ‘linuxtechi.local’ as domain and ‘traefik.linuxtechi.local’ as FQDN for Traefik dashboard.
Steps to setup Traefik on Ubuntu 20.04
In this article, First we will setup Traefik and then will register WodressPress Container to traefik for reverse proxy and load balancing. We will be configure Traefik to serve everything over HTTPS using Let’s encrypt ssl certificate.
Follow the steps below to set up the Traefik reverse proxy.
1 ) Configure Traefik
Create a configuration files and set up an encrypted password to access the traefik dashboard. You can use htpasswd utility to create the encrypted password. To use htpasswd utility, install the utility with the following command.
$ sudo apt-get install -y apache2-utils
Once the installation is completed, run the following command to generate an encrypted password. In this example I have used “Traefik@123#” to encrypt. You can have your own assumptions. User is taken as “admin” you can replace it with your own username.
$ htpasswd -nb admin Traefix@123#
You will get encrypted password as :
pkumar@traefik:~$ htpasswd -nb admin Traefik@123#
admin:$apr1$V.9MT9VH$MtLgwiAa4jq1ngDVvTdJu/
pkumar@traefik:~$
Copy this output and save it somewhere as we need to use this encrypted password in Traefik configuration file to setup basic authentication for Traefik dashboard.
Now create a configuration file called traefik.toml using TOML format. We will be using three providers of Traefik namely api, docker and acme. Acme provides let’s encrypt TLS certificates.
Create a traefik.toml file with following contents
$ vi traefik.toml
[entryPoints]
  [entryPoints.web]
    address = ":80"
    [entryPoints.web.http.redirections.entryPoint]
      to = "websecure"
      scheme = "https"
  [entryPoints.websecure]
    address = ":443"

[api]
  dashboard = true
[certificatesResolvers.lets-encrypt.acme]
  email = "[email protected]"
  storage = "acme.json"
  [certificatesResolvers.lets-encrypt.acme.tlsChallenge]

[providers.docker]
  watch = true
  network = "web"

[providers.file]
  filename = "traefik_secure.toml"
Save and Close the file
In above file entrypoint web handles port 80 while entrypoint websecure handle port 443 for SSL/TLS connection.
All the traffic on port 80 is redirected forcibly to websecure entry point to secure connections. Don’t forget to change email and domain in the above file ‘traefik.toml’ that suits to your setup.
Let’s create the other file ‘traefik_secure.toml’ with following contents.
$ vi traefik_secure.toml
[http.middlewares.simpleAuth.basicAuth]
  users = [
    "admin:$apr1$V.9MT9VH$MtLgwiAa4jq1ngDVvTdJu/"
  ]

[http.routers.api]
  rule = "Host(`traefik.linuxtechi.local`)"
  entrypoints = ["websecure"]
  middlewares = ["simpleAuth"]
  service = "api@internal"
  [http.routers.api.tls]
    certResolver = "lets-encrypt"
Save and exit the file.
Contents of above will enable Username and password authentication for Traefik dashboard and also enable let’s encrypt TLS certificates for http routers.
Don’t forget to change password string for admin user and host entry in above file that suits to your setup.
2) Running traefik container
Create new docker network for the proxy to share among containers. Use the following command to create a docker network.
$ docker network create web
When you start traefik container, add the container to this network. You can add additional containers to this network for Traefik to work as a reverse proxy.
Create an empty file which holds Let’s encrypt information and modify the permission accordingly.
$ touch acme.json
$ chmod 600 acme.json
Once this json file moves to docker container the ownership will get changed to root automatically.
Create a traefik container using the following command:
$ docker run -d \
   -v /var/run/docker.sock:/var/run/docker.sock \
   -v $PWD/traefik.toml:/traefik.toml \
   -v $PWD/traefik_secure.toml:/traefik_secure.toml \
   -v $PWD/acme.json:/acme.json \
   -p 80:80 \
   -p 443:443 \
   --network web \
   --name traefik \
    traefik:v2.4
As the command is too long, it has been broken down into multiple lines.
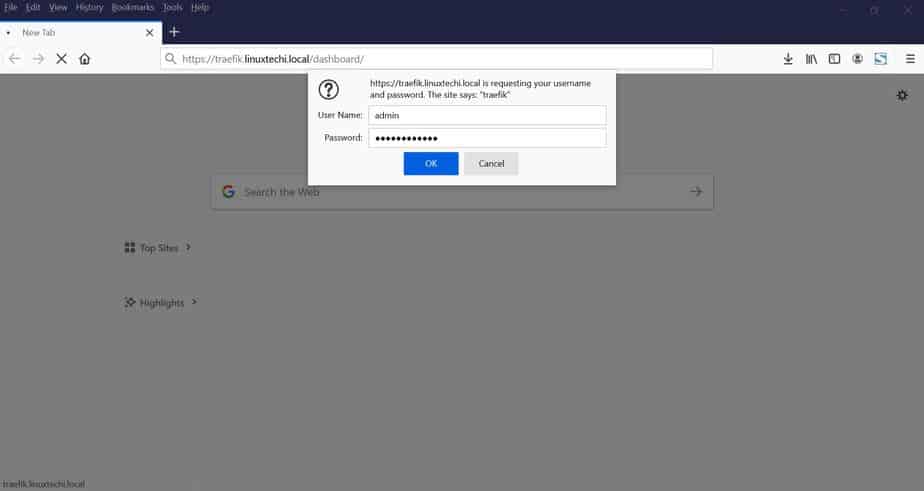
Now you can access traefik dashboard to monitor the health of the containers. Navigate to https://your_domain.com/dashboard/ [Replace your_domain with your own domain] and provide admin credentials [username is admin and password is encrypted password created in above step]. In my case, URL would be:
https://traefik.linuxtechi.local/dashboard/
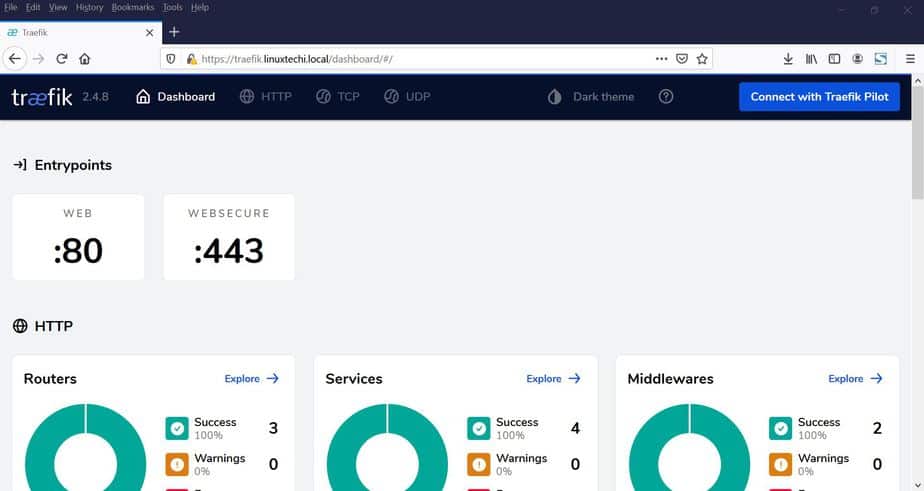
Once logged in to the dashboard, you will have the following interface.
3) Register Containers to Traefik
You have configured Traefik which is running on your server. In this step, I am going to add a WordPress container for Traefik to proxy. The WordPress container will be managed with Docker Compose.
Let’s create a docker-compose.yml file with following contents.
$ vi docker-compose.yml
To specify the version and network we will use, add the following lines to the file.
version: "3"
networks:
  web:
    external: true
  internal:
    external: false
I have used version 3 because it is the latest version of Docker Compose. Traefik will recognize our applications only if they are part of the same network. In the previous steps I have created docker network manually with network name web so I have included this network in the docker-compose.yml file and exposed it to external for traefik proxy. I have defined another network to connect our application with database container which is not needed to expose through traefik.
Now define each of the services. Firstly, create a service for WordPress application. Add the following lines in docker-compose.yml file.
services:
  wordpress:
    image: wordpress:latest
    environment:
      WORDPRESS_DB_HOST: mysql:3306
      WORDPRESS_DB_USER: dbuser
      WORDPRESS_DB_PASSWORD: dbpass@123#
      WORDPRESS_DB_NAME: wordpress_db
    labels:
      - traefik.http.routers.blog.rule=Host(`blog.linuxtechi.local`)
      - traefik.http.routers.blog.tls=true
      - traefik.http.routers.blog.tls.certresolver=lets-encrypt
      - traefik.port=80
    networks:
      - internal
      - web
    depends_on:
      - mysql
I have used traefik.port=80, traefik will use this port to route traffic to WordPress container.
Replace Host: blog.linuxtechi.com with your own WordPress site domain
Now, you need to configure the MySQL service for the database. Add the following lines to the bottom of docker-compose.yml file
mysql:
  image: mysql:latest
  environment:
    MYSQL_ROOT_PASSWORD: sqlpass@123#
    MYSQL_DATABASE: wordpress_db
    MYSQL_USER: dbuser
    MYSQL_PASSWORD: dbpass@123#
  networks:
    - internal
  labels:
    - traefik.enable=false
In this example, I have used MySQL lastest image for a database container. Environment variables for wordress and mysql service have been defined in file itself. MySQL service is not needed to proxy using traefik, so I have used internal networks only.
Your complete docker-compose.yml file will look like:
version: "3"
networks:
  web:
    external: true
  internal:
    external: false
services:
  wordpress:
    image: wordpress:latest
    environment:
      WORDPRESS_DB_HOST: mysql:3306
      WORDPRESS_DB_USER: dbuser
      WORDPRESS_DB_PASSWORD: dbpass@123#
      WORDPRESS_DB_NAME: wordpress_db
    labels:
      - traefik.http.routers.blog.rule=Host(`blog.linuxtechi.local`)
      - traefik.http.routers.blog.tls=true
      - traefik.http.routers.blog.tls.certresolver=lets-encrypt
      - traefik.port=80
    networks:
      - internal
      - web
    depends_on:
      - mysql

  mysql:
    image: mysql:latest
    environment:
      MYSQL_ROOT_PASSWORD: sqlpass@123#
      MYSQL_DATABASE: wordpress_db
      MYSQL_USER: dbuser
      MYSQL_PASSWORD: dbpass@123#
    networks:
      - internal
    labels:
      - traefik.enable=false
Save the file and exit the file
Now run the following command to create MySQL and wordpress container.
$ docker-compose up -d
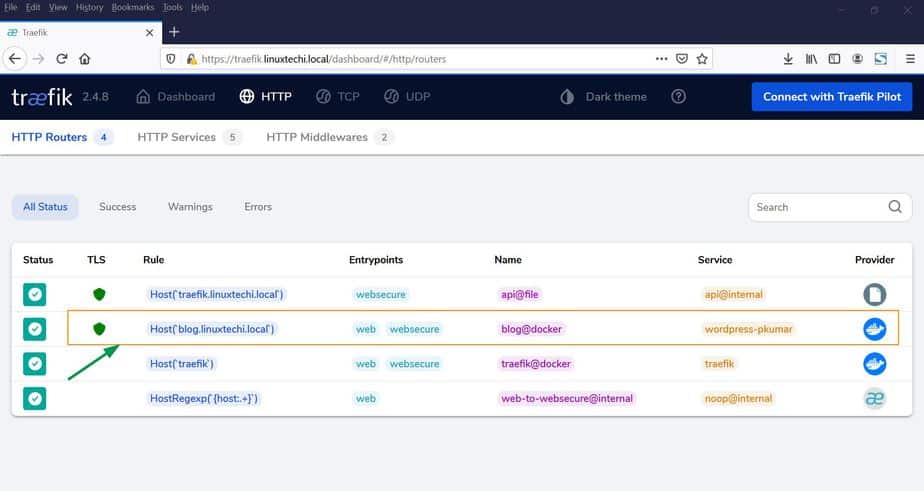
Now navigate to Traefik dashboard and click on HTTP routers, you will find new containers added to the dashboard.
Now use the url blog.linuxtechi.local [Replace with your domain]. You will be redirected to WordPress installation wizard with TLS connection.
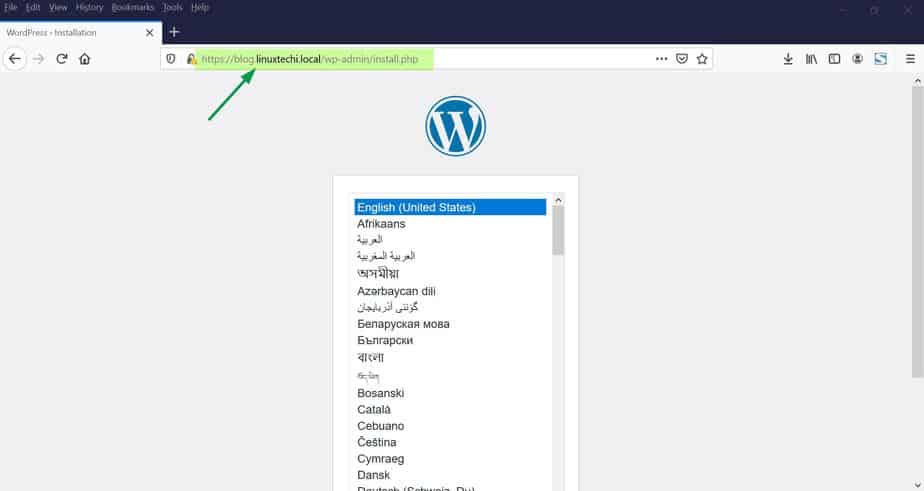
Complete the installation wizard. You are now all good to use your WordPress site.
Conclusion:
In this article, you have learned how to set up traefik in Ubuntu 20.04. You got an ideahow to register containers automatically to traefik for load balancing and reverse proxy. Also, you learned how to configure WordPress sites with traefik proxy.
Also Read : How to Setup Private Docker Registry on Ubuntu 20.04