How to create a link in bio using cutt.ly?
You can create a link in bio with cutt.ly in two ways.
Method 1:
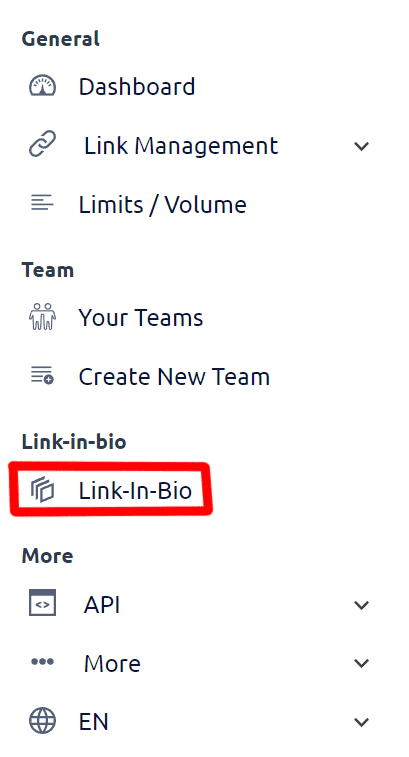
1.1. Log in to your Cutt.ly dashboard and go to the Link-In-Bio section.
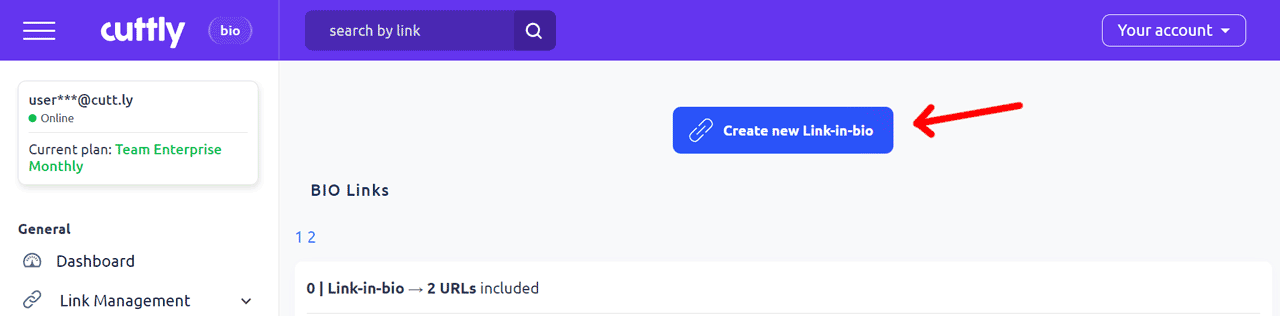
1.2. Click "Create new Link-in-Bio" button.
1.3. A panel will slide out, where you'll need to provide the first target link you want to add to your link-in-bio. If you have a custom domain added, you can decide if the first link in your link-in-bio should be in your own domain or cutt.ly domain.
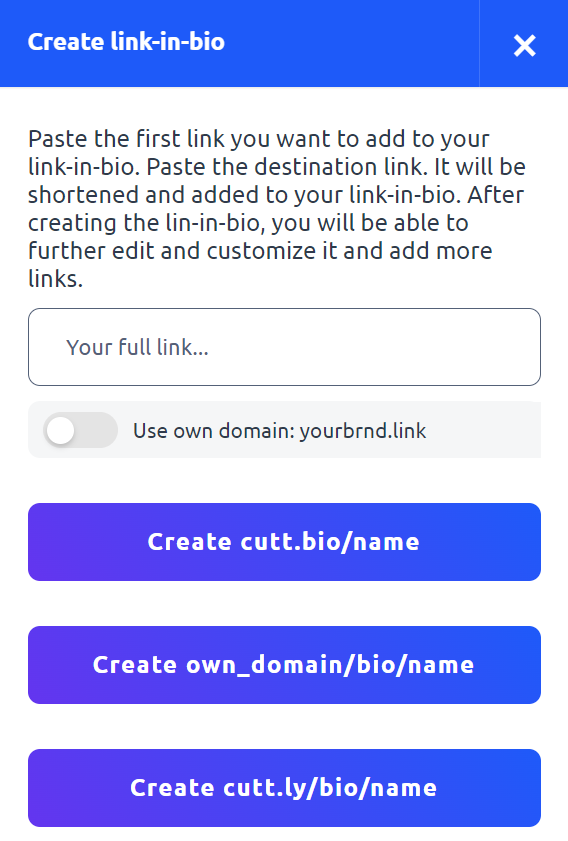
1.4. After adding the target link, choose the domain for the link-in-bio.
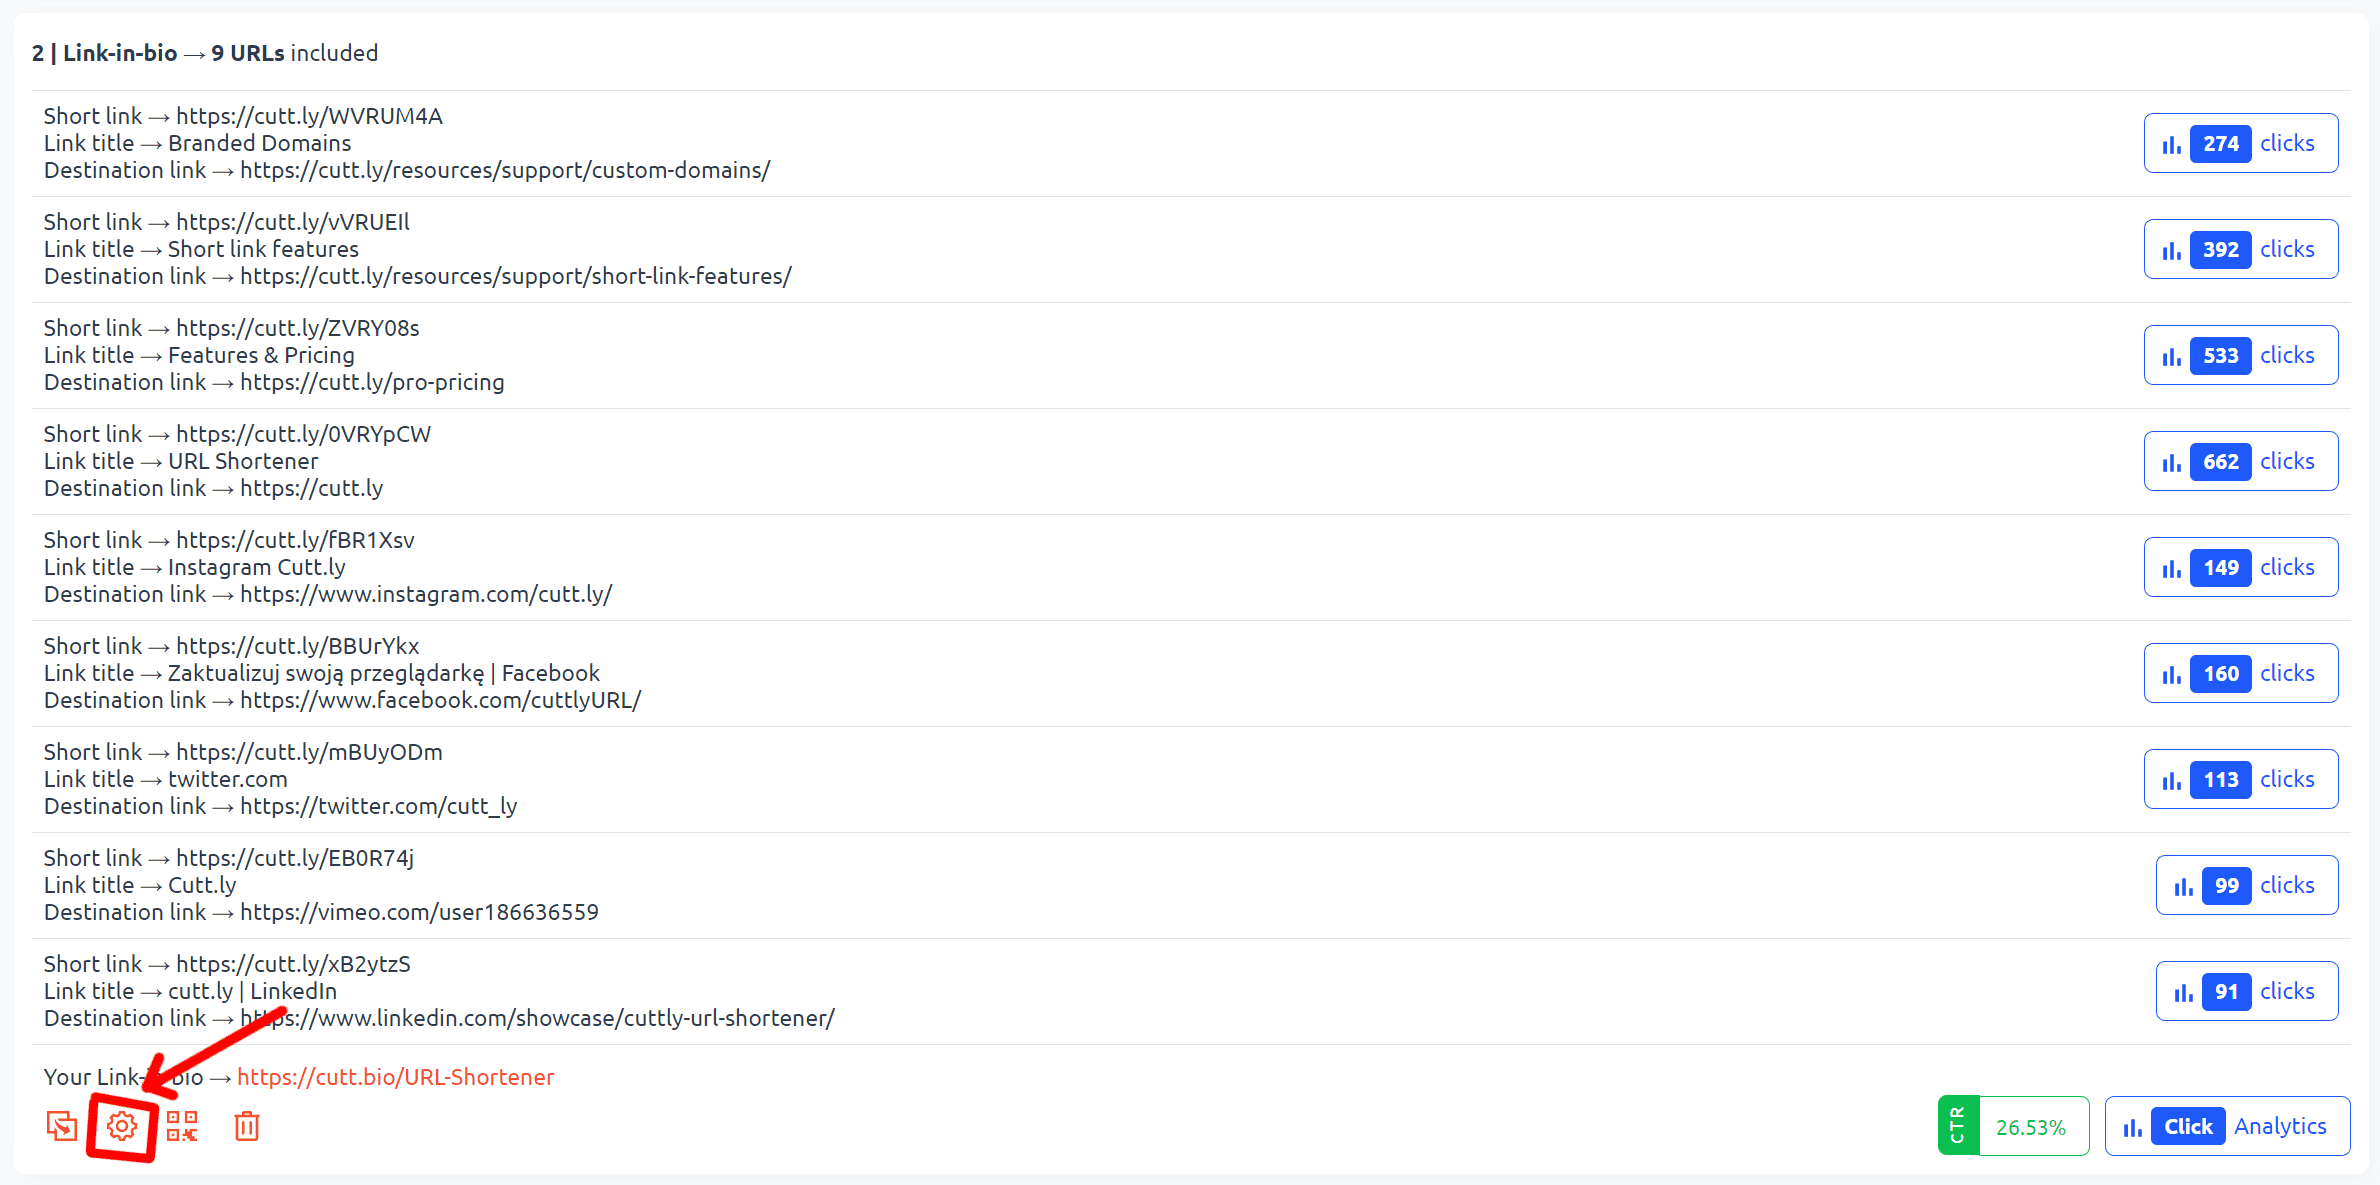
1.5. Your link will be created, and you can find it in the Link-in-Bio section/dashboard and edit it further, add new links by clicking the edit icon.
Method 2:
2.1. In the main dashboard, you can select the checkbox for chosen links, and then click "Create Link-in-Bio" in the box next to it.
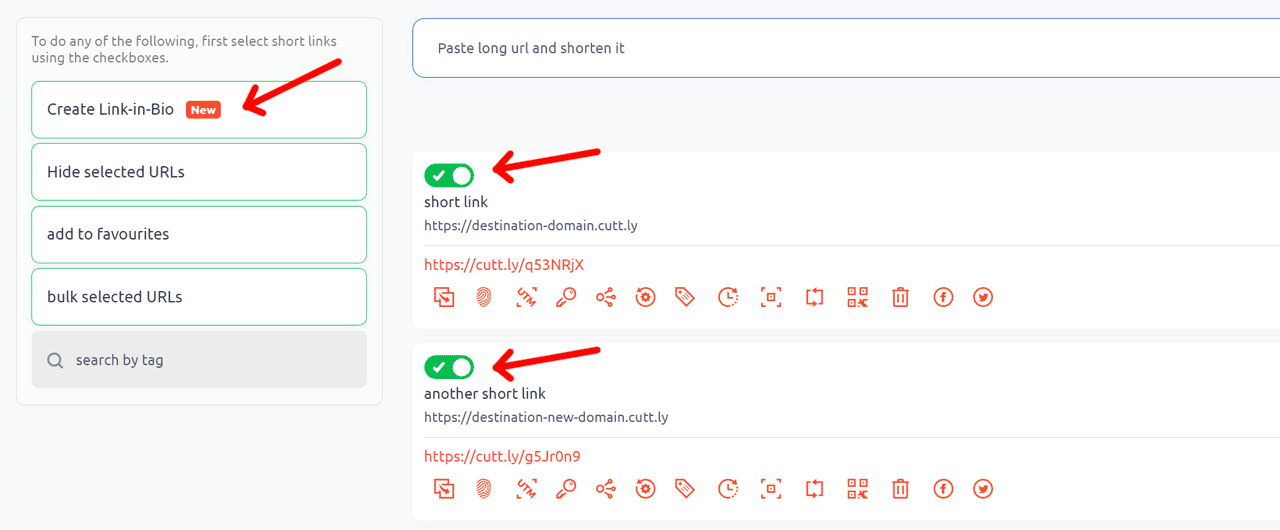
2.2. A side panel will appear where you can choose in which domain you want to create the Link-in-Bio.

2.3. The link in bio will be created, and you can see it here:

2.4. You can copy and use it or edit it further by going to the Link-in-Bio section.
2.5. In the Link-in-Bio section, click the edit button.
Find out more about the options available in your subscription plan here: Cuttly pricing and features
-
What is Link in bio?
What types of link in bio can you create with cutt.ly?
In which domains can I create a link in bio page with cutt.ly?
How to create a link in bio using cutt.ly?
How to change the alias/back-half of a link in bio?
How to edit the background of a link in bio?
How to edit styles/templates for a link in bio?